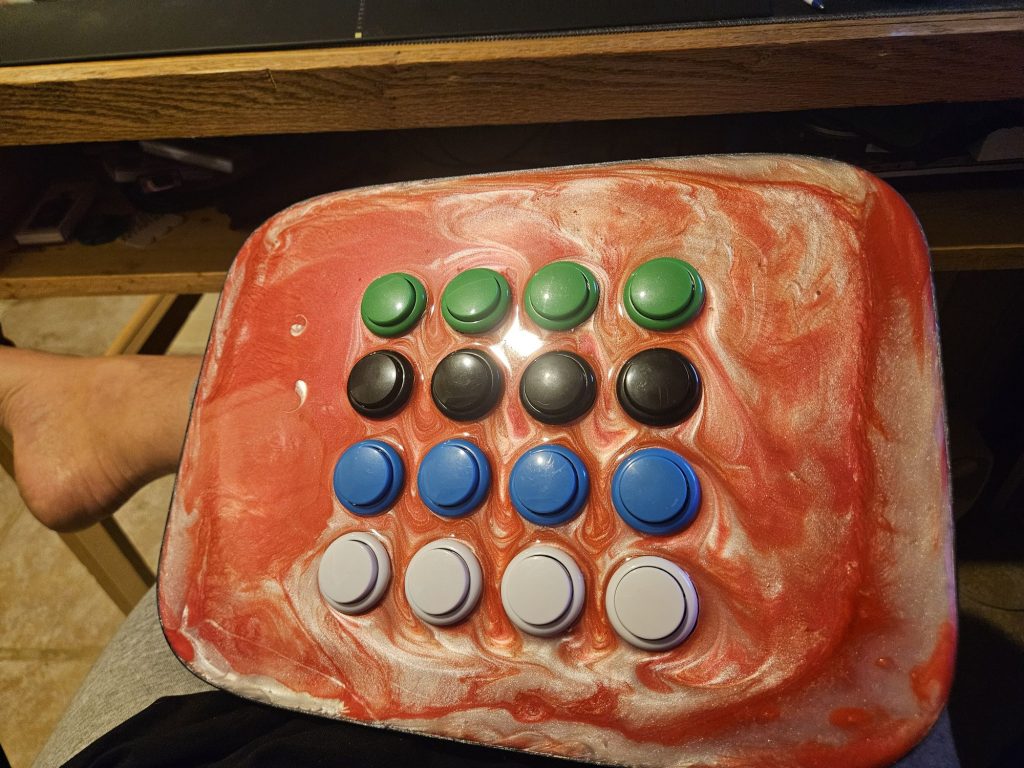
I was always interested in making something with a Raspberry Pi Pico but, intimidated by what I thought looked like a vicious skill ramp up so never bothered collecting any of the components to produce one on my own. Instead, I partook in other projects that, over the years that eventually led me back to making something cool, like a Midi Fighter. Such projects were:
- Learning how to write web applications.
- Learning how to create C# applications.
- Finding and acquiring a cost effective, yet quality arcade fight stick.
- Tinkering with sample pad software/ hardware and DAW’s over the years (ableton, koala, imaschine, korg kaossilator pro, korg kaospad 3, fruityloops, sonicpi)
- Circuit bending old electronic toys to get weird sounds out of them
The above is a simple list of highlighted accomplishments that I believe are responsible for me leveling up enough to feel confident in undertaking a task that requires:
- Knowledge in programming
- Knowledge of DAW’s and sampling softwares
- Unknown limits to my curiosity
- Knowledge in electronics
What sealed the venture into this project this time was the annual question you might be asked should you celebrate Christmas: “What christmas gift would you like this year?”.
The best part of asking for some of these components for christmas was the comfort in knowing that none of the items used in my build were expensive, and if something cost a lot out of the bunch of items it was the buttons and epoxy. Everything else was in the $20.00 – $25.00 range.
Items used in the build:
- Raspberry Pi Pico W
- 30mm Arcade momentary push buttons x 2
- ELEGOO Upgraded Electronics Fun Kit x 2
- Epoxy resin (odorless and UV resistant) with Micah powder
- Case: An old DVR I found laying around the house (pc+abs plastic)
And then there were some hidden costs, so to speak; items I needed to buy that enabled me to construct the enclosure/ case for the arcade push button keyboard, like:
- 30mm hole saw
- Soldering iron
- Solder
- Flux
- Dremel
In total, i spent about $50 of my own money and was gifted about $75 worth of hardware. I already own a Dremel kit, soldering iron, and the solder + flux. I found a suitable container for my midi controller in an old DVR that I gutted and only had to buy a hole saw, epoxy, and the buttons.
How I made the Midi Controller case/ housing:
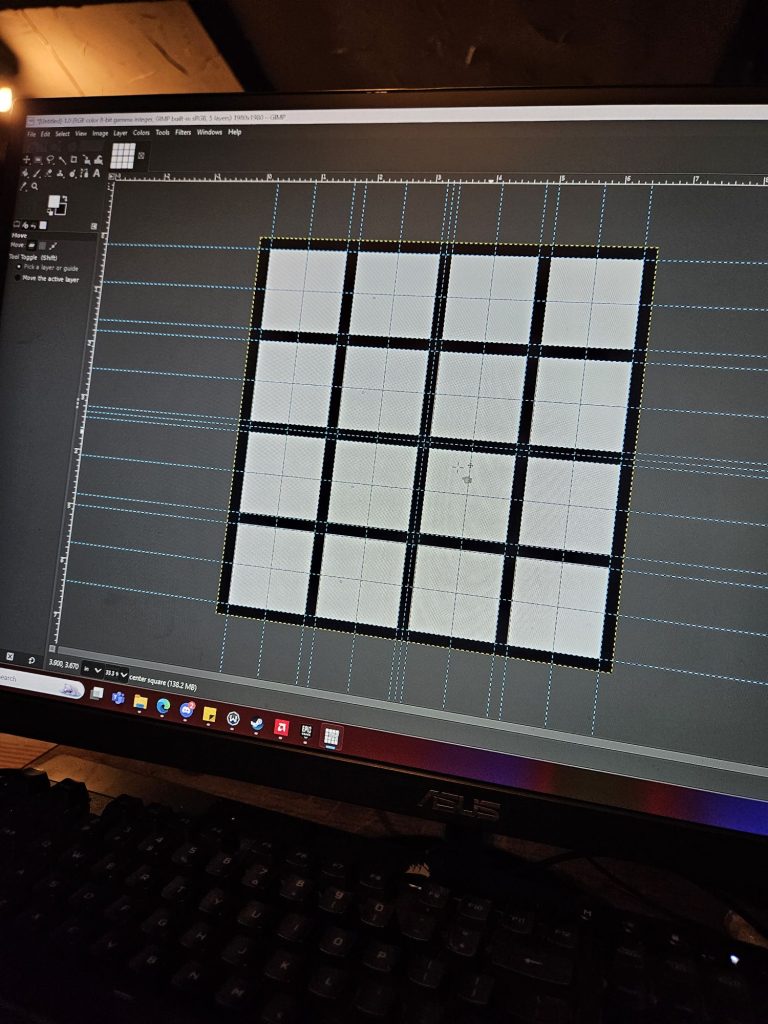
The biggest hurdle we faced was realizing the only ruler we could find was calibrated in inches; here in Canada, we learn the metric system, so measuring our area in inches and then trying to “math” everything out with GIMP (a free image/photo editor) using a ruler of inches wasn’t helping since our physical ruler could only indicate an inch in even parts of 8, while the inches calibration in GIMP measured in equal parts of 10. That’s when we decided to give up on the physical ruler itself as a tool for measurement and instead pull out a measuring tape calibrated to centimeters & millimeters.
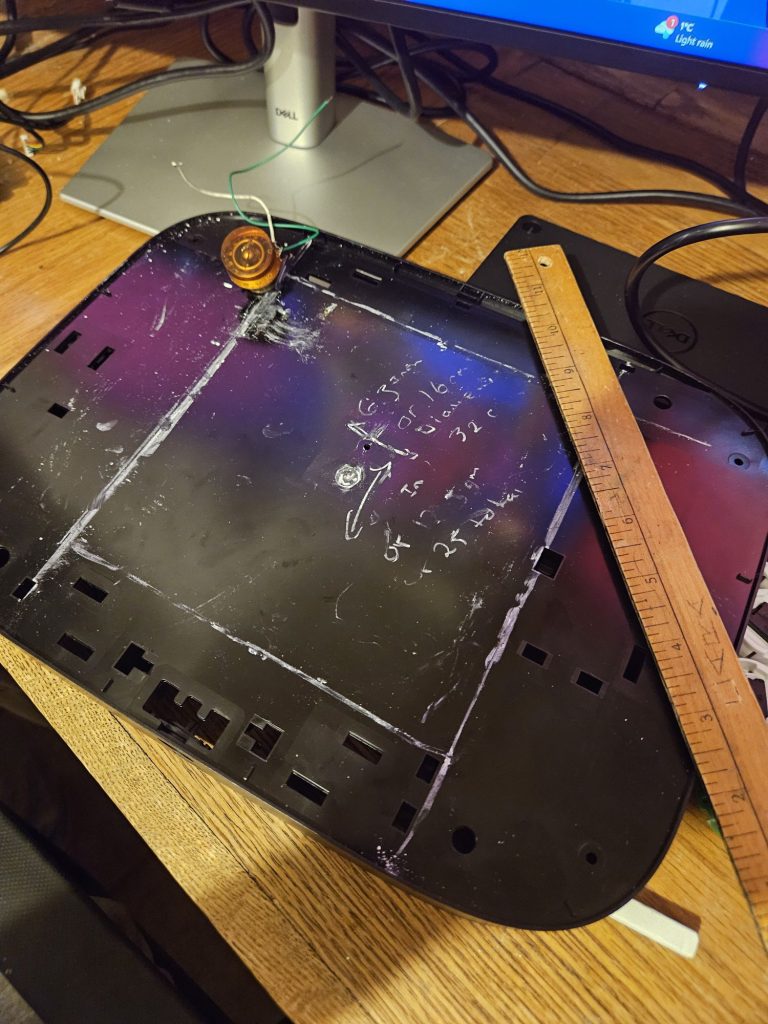
After switching to centimeters in both our image editor & physical measuring tape, we were careful to construct our grid.
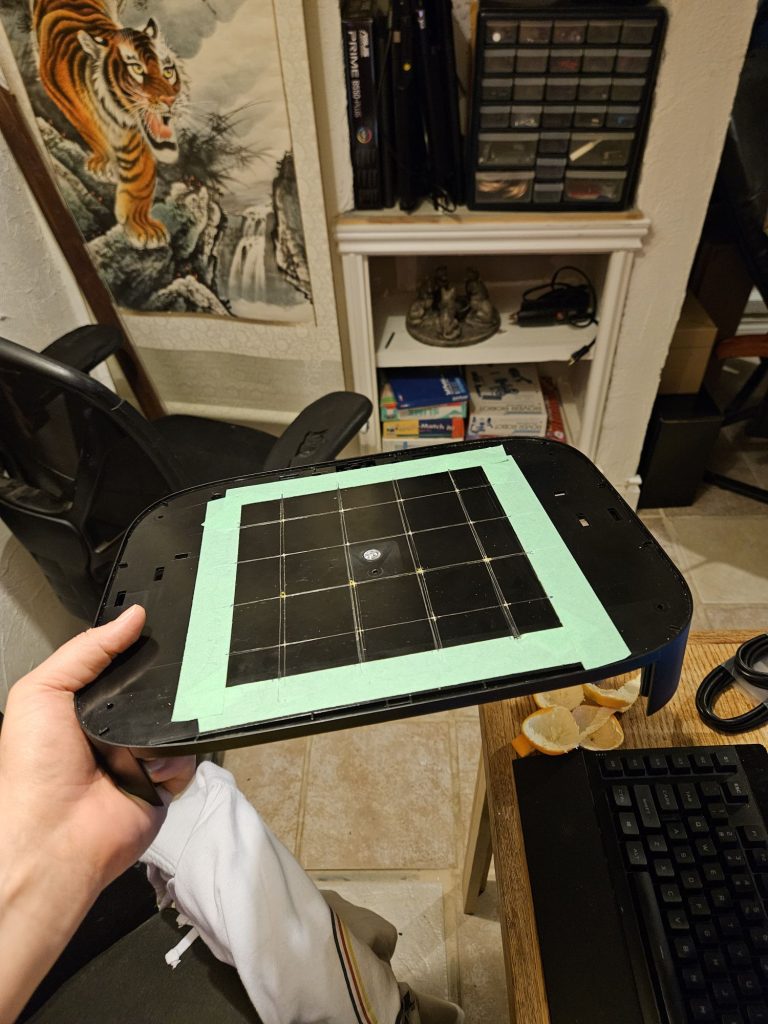
Once we had the drill marks, we could finally take to DVR casing to the drill and start boring some holes. I never drilled into ABS before, and it was incredibly easy.
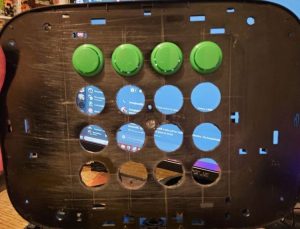
We made sure to fit all buttons into the newly drilled holes to determine how satisfactory the fitment would be.
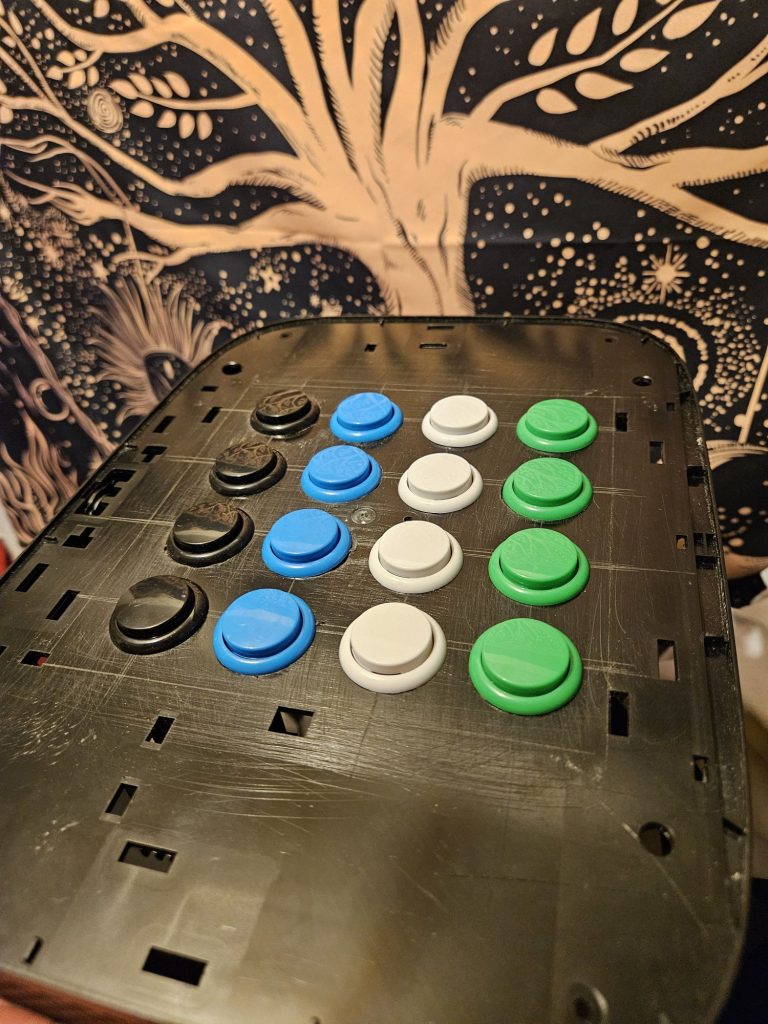
The result of the fitment test was good enough for the next step! Sealing off the original fabrication holes, and creating paper dowels to prevent epoxy seapage.
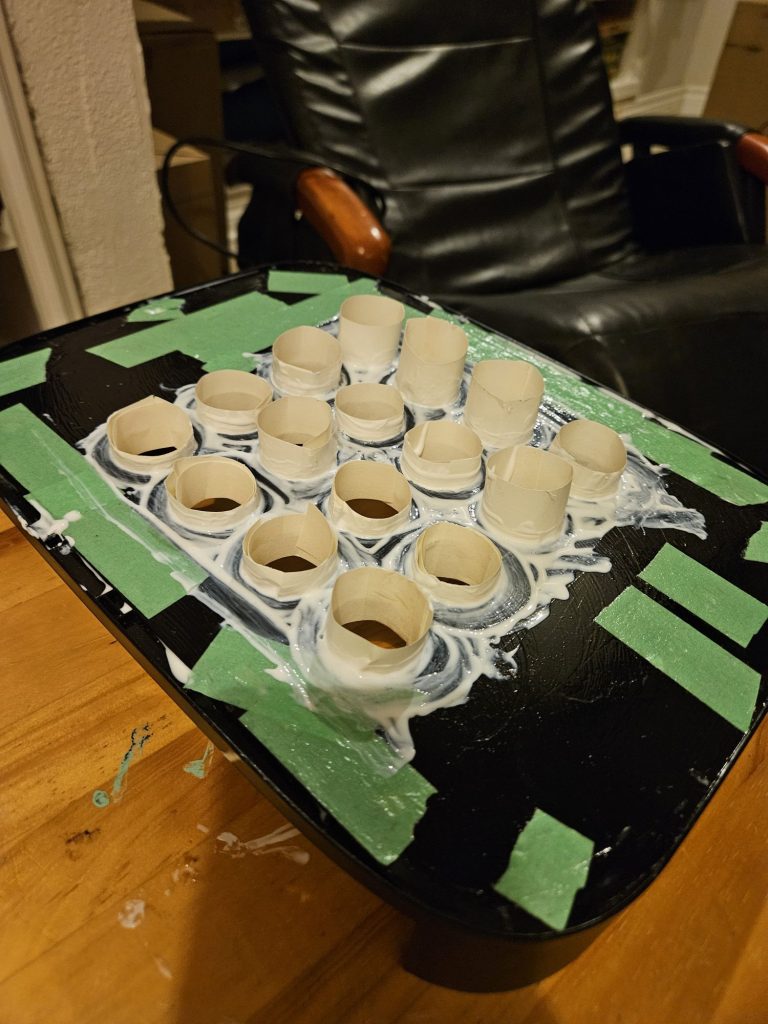
Epoxy resin is pretty nasty, in my opinion, so having it leak all over the place was not an option. My youngest son and I sealed the ABS hole fabrication with masking tape and then added a generous coating of Mod Podge and let it dry. We were careful to inspect all crevices as to be certain they were sealed with mod podge glue.
Now the pour!
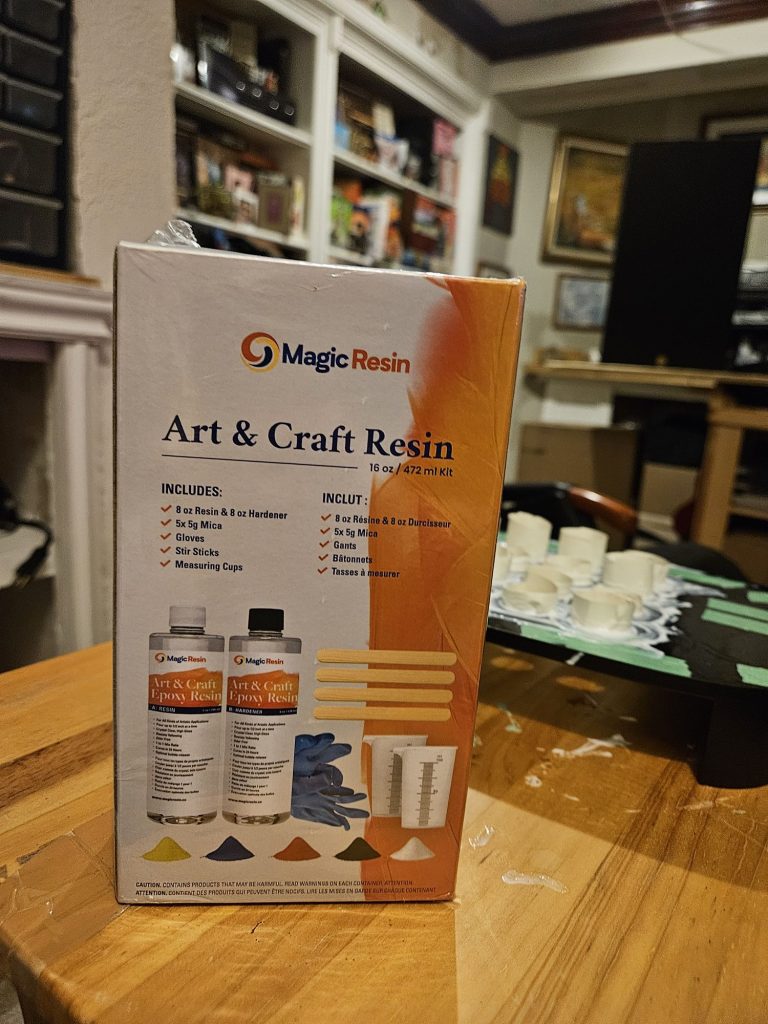
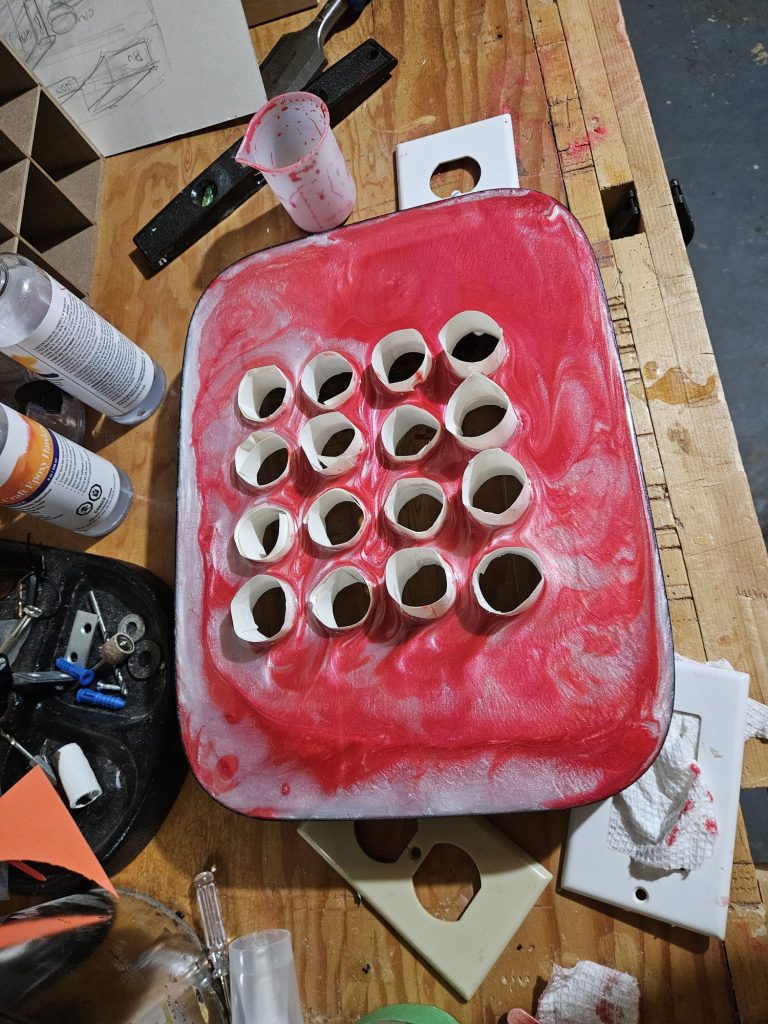
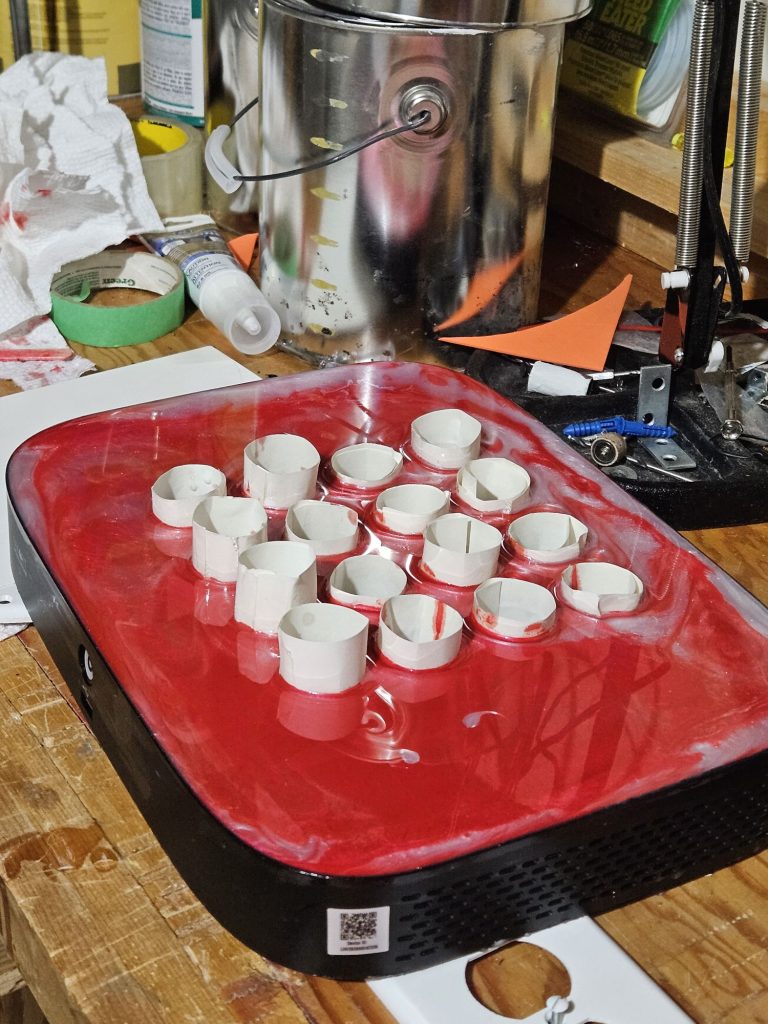
Very carefully, my youngest and I mixed 2 100mm beakers with 50ml part A and 50ml part B epoxy liquid. In beaker 1, we mixed in 5 grams of white Micah powder. In beaker 2, we mixed 5 grams of red Micah powder. We stirred the mixtures for several minutes slowly to ensure the formation of minimal bubbles and a full and even distribution of the colored powders.
We poured the white epoxy onto the DVR’s surface first and added the red epoxy last, creating designs in the surface by dragging popsicle sticks across the 2 colors. We waited about 18 hours from the pour before working with the case again.